
If you’re looking to improve the accessibility of your website using Google Tag Manager, the Barriano Accessibility Widget can be installed through your existing Google Tag Manager setup. This guide will walk you through the installation process.
Step 1: Register Your Website with Barriano
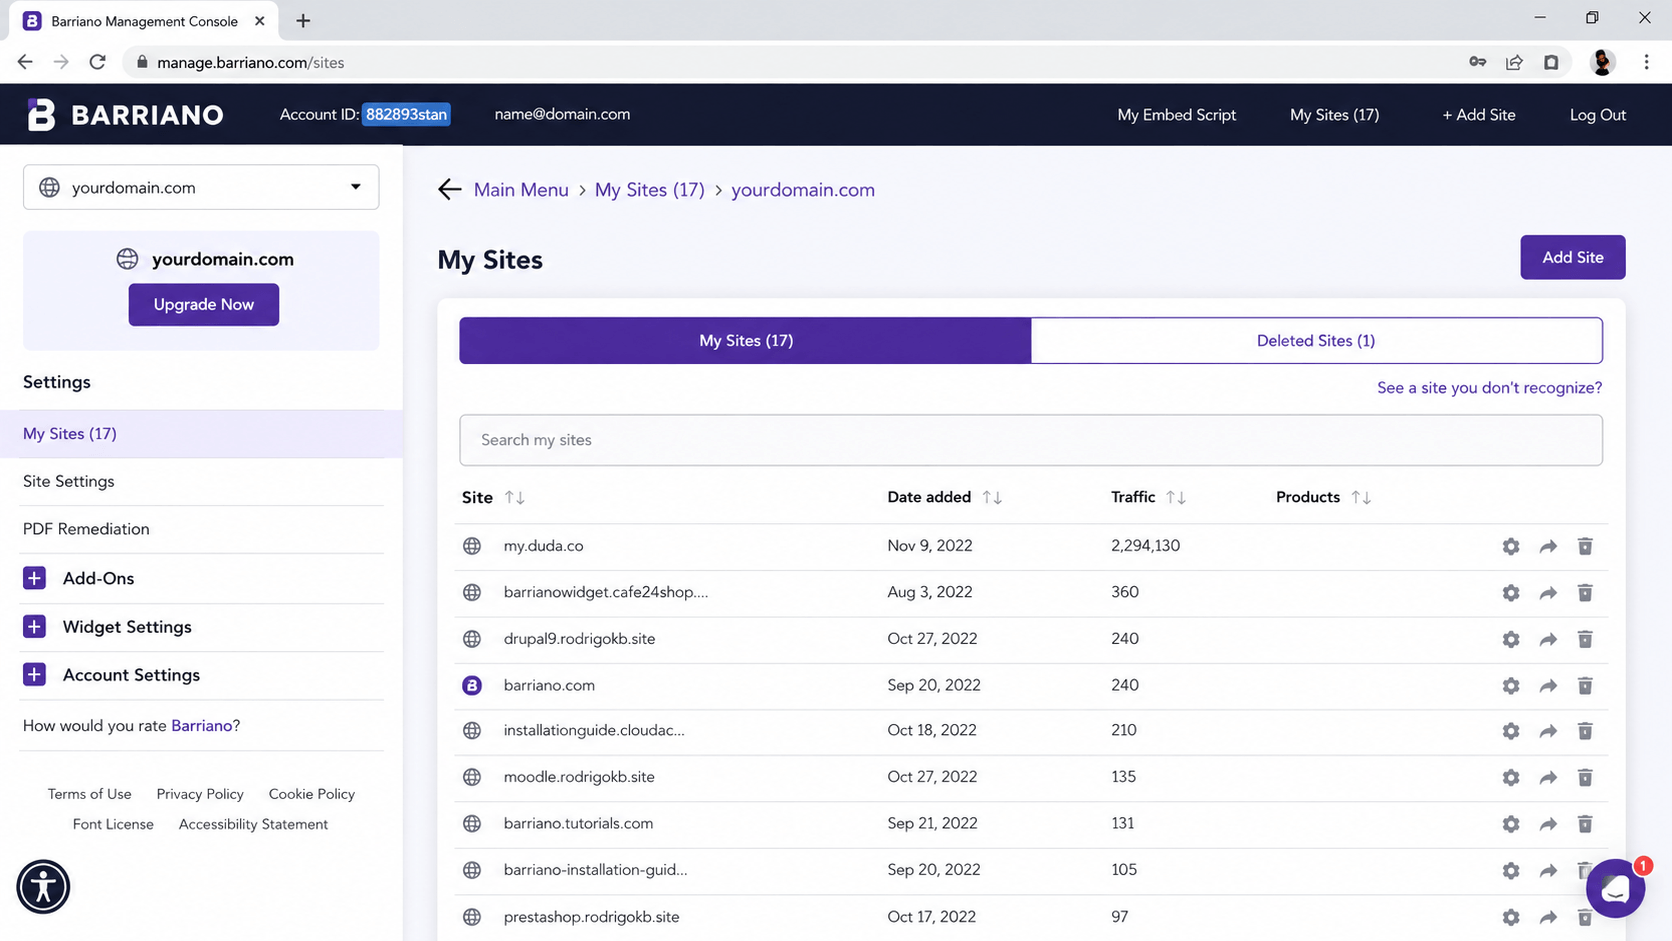
First, register your website with Barriano and complete the website registration process.
Once registration is complete, Barriano will provide your unique installation code. Copy this code so you can use it during the Google Tag Manager setup.
If your website is already registered with Barriano, sign in to your Barriano dashboard, select the relevant website, and copy its existing installation code.
Step 2: Open Your Google Tag Manager Workspace
Make sure Google Tag Manager is already installed on your website.
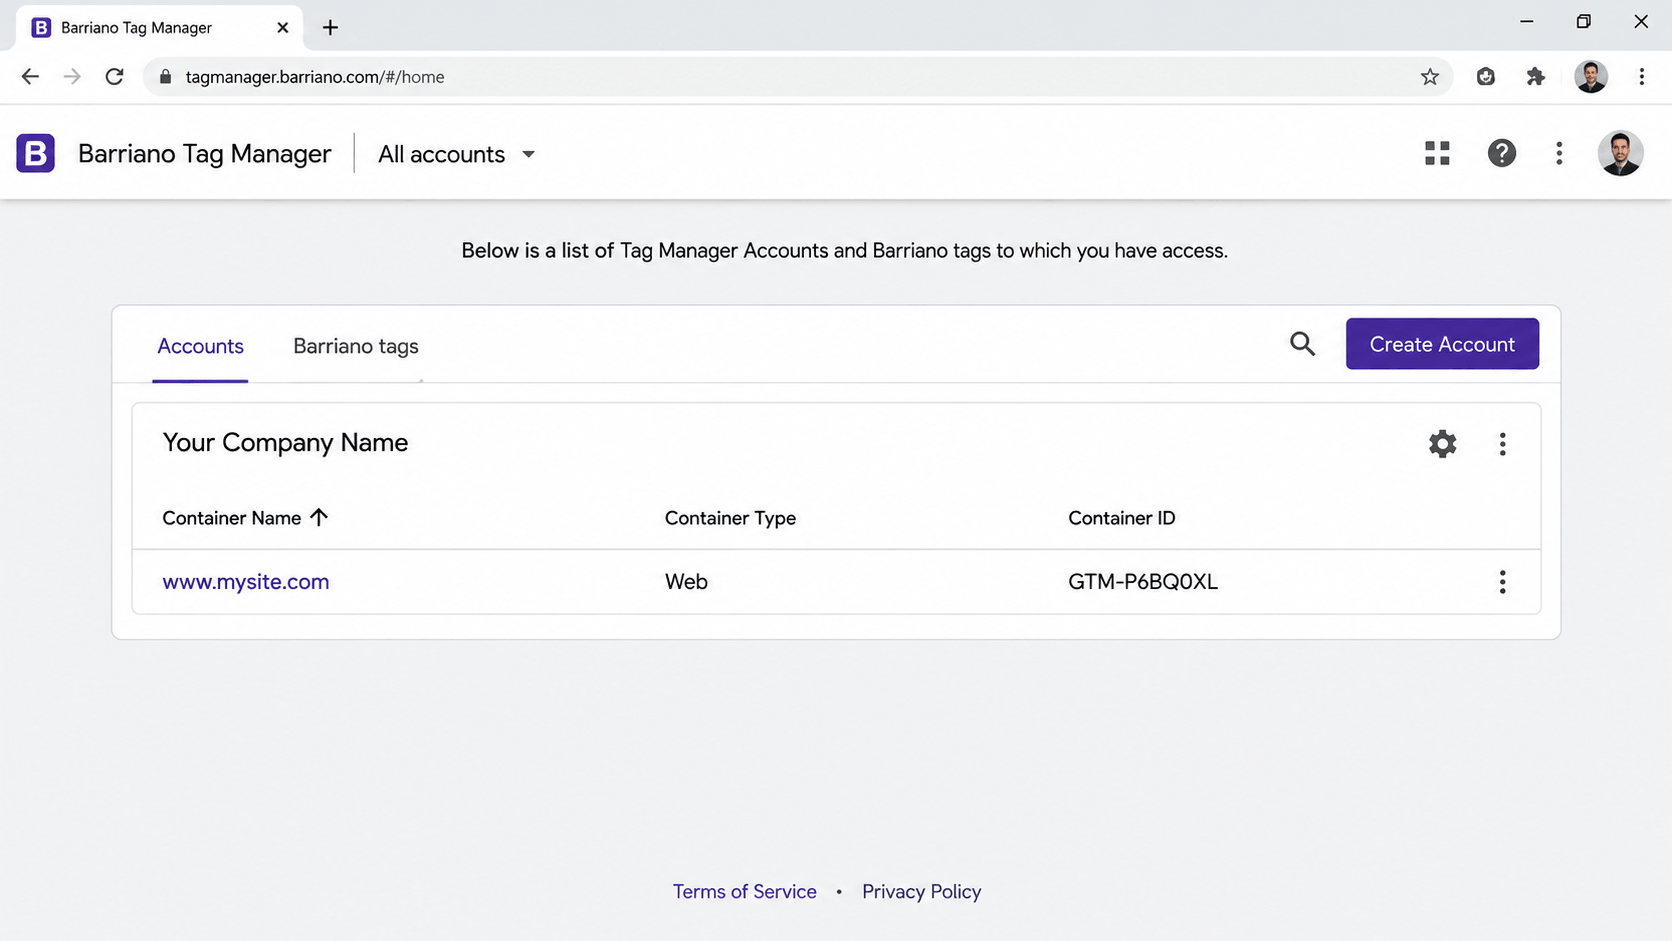
Sign in to Google Tag Manager and select the account and container associated with the website where you want to install the Barriano Accessibility Widget.
Click the appropriate Container Name to open its Workspace.
From the left-side navigation menu, select Tags.
Click New to create a new tag.
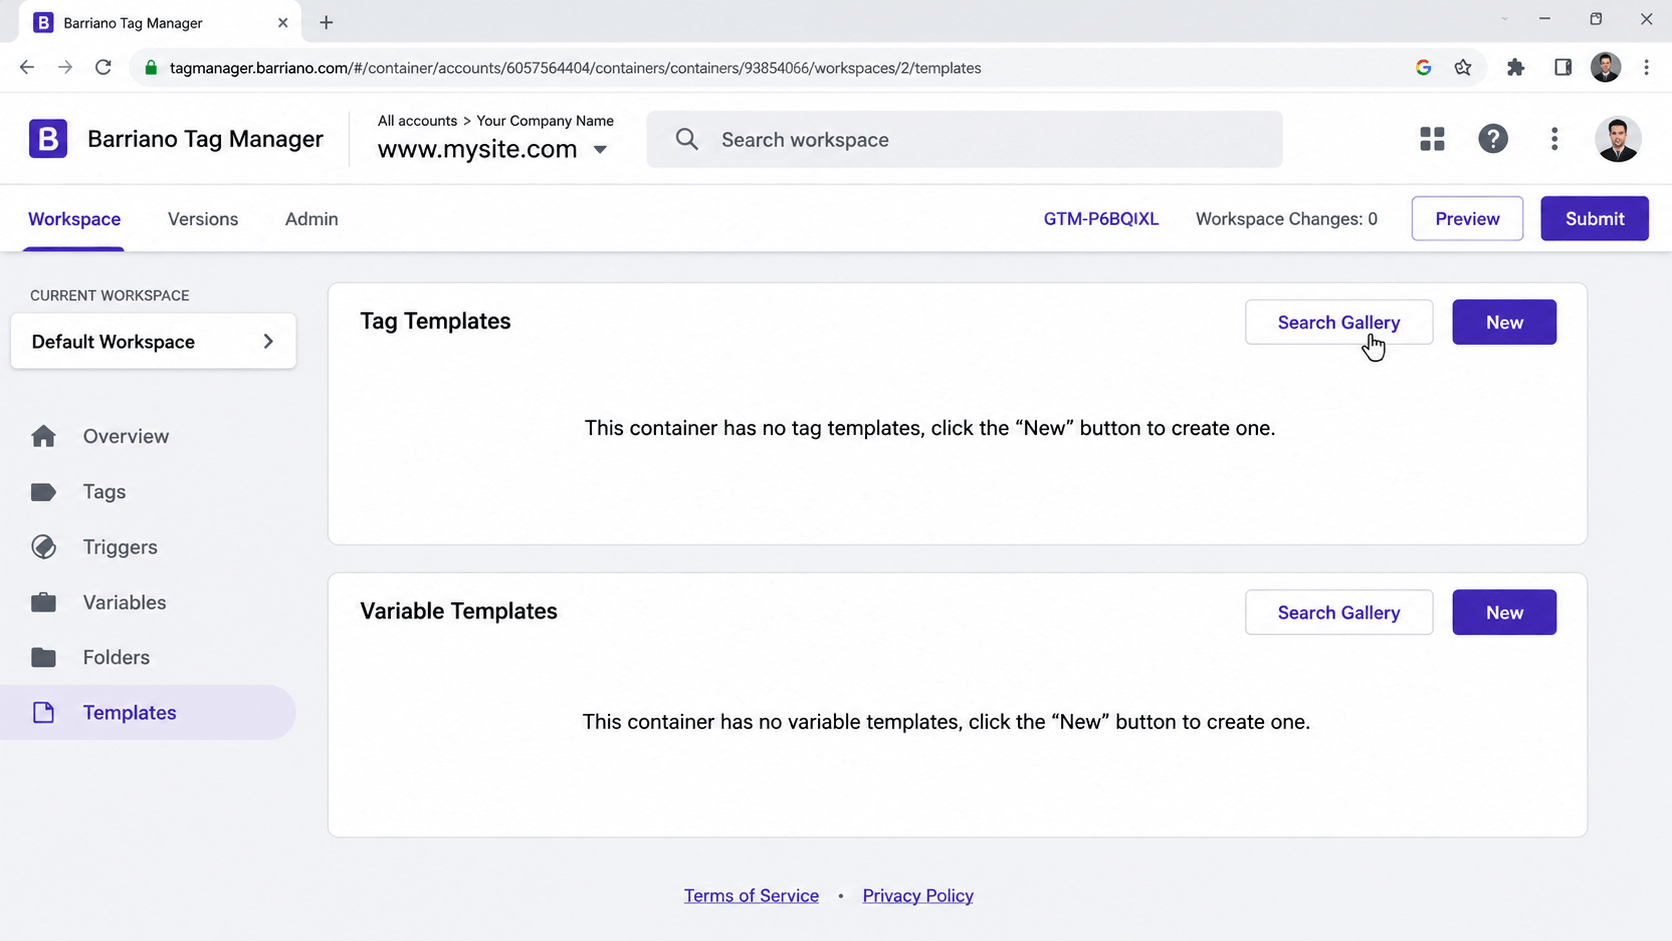
Click Tag Configuration and select Custom HTML as the tag type.
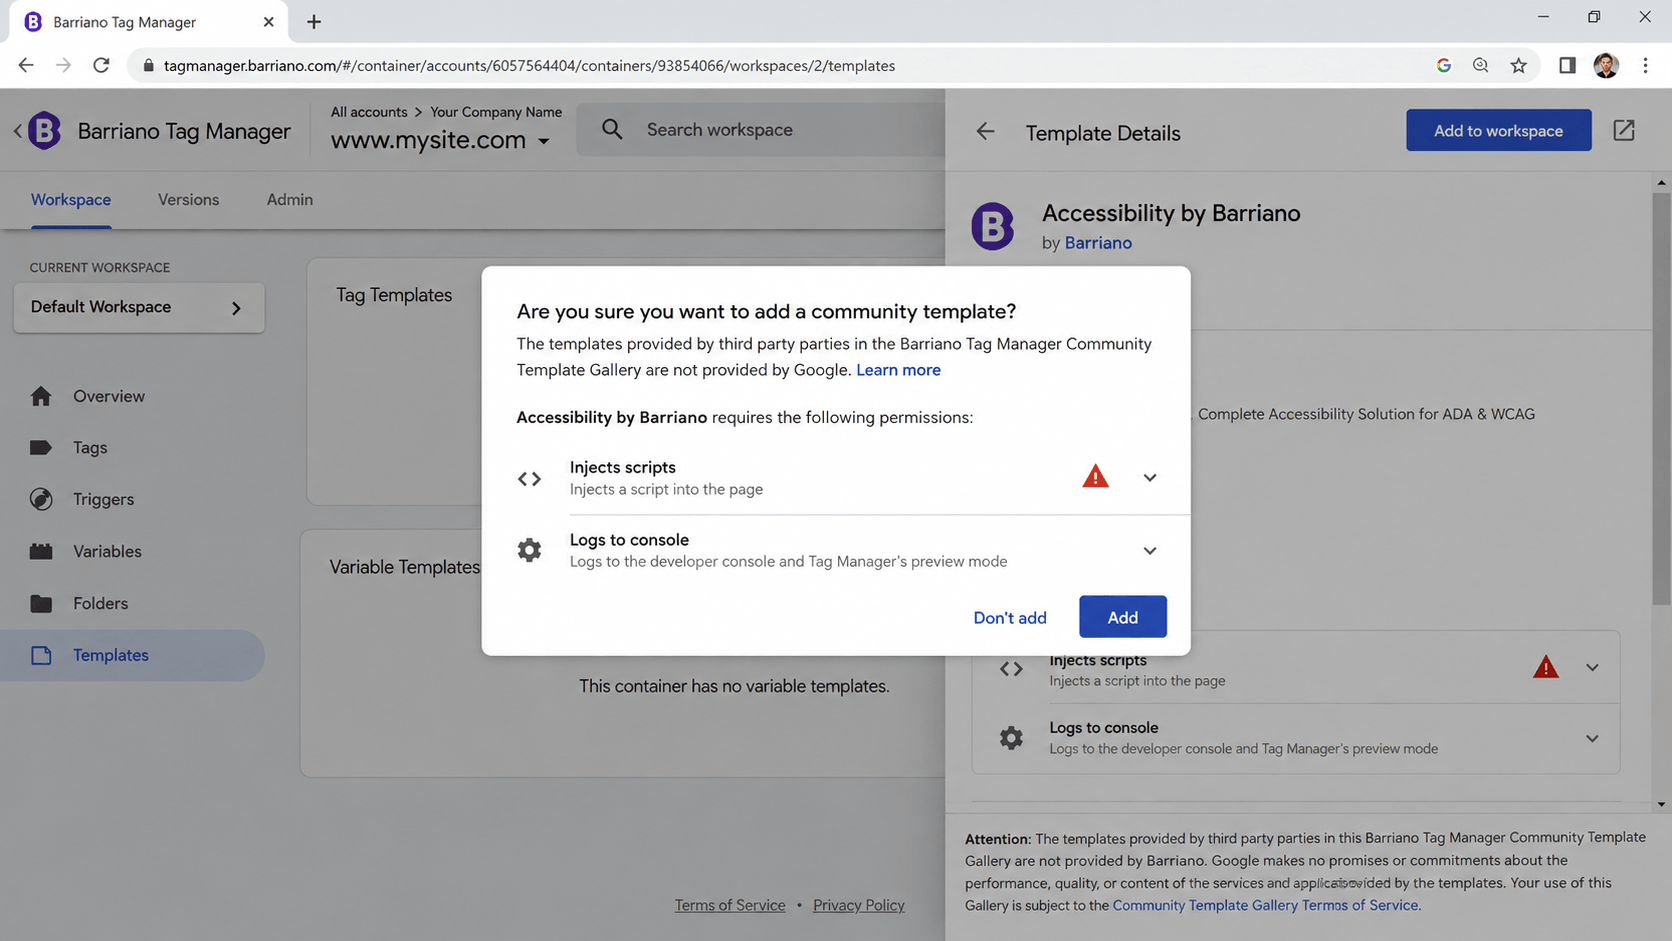
Step 3: Paste Your Barriano Installation Code
In the Custom HTML field, paste your Barriano installation code.
Click Triggering and select All Pages so the Barriano Accessibility Widget is loaded throughout your website.
Give the tag a recognizable name, such as Barriano Accessibility Widget, and click Save.
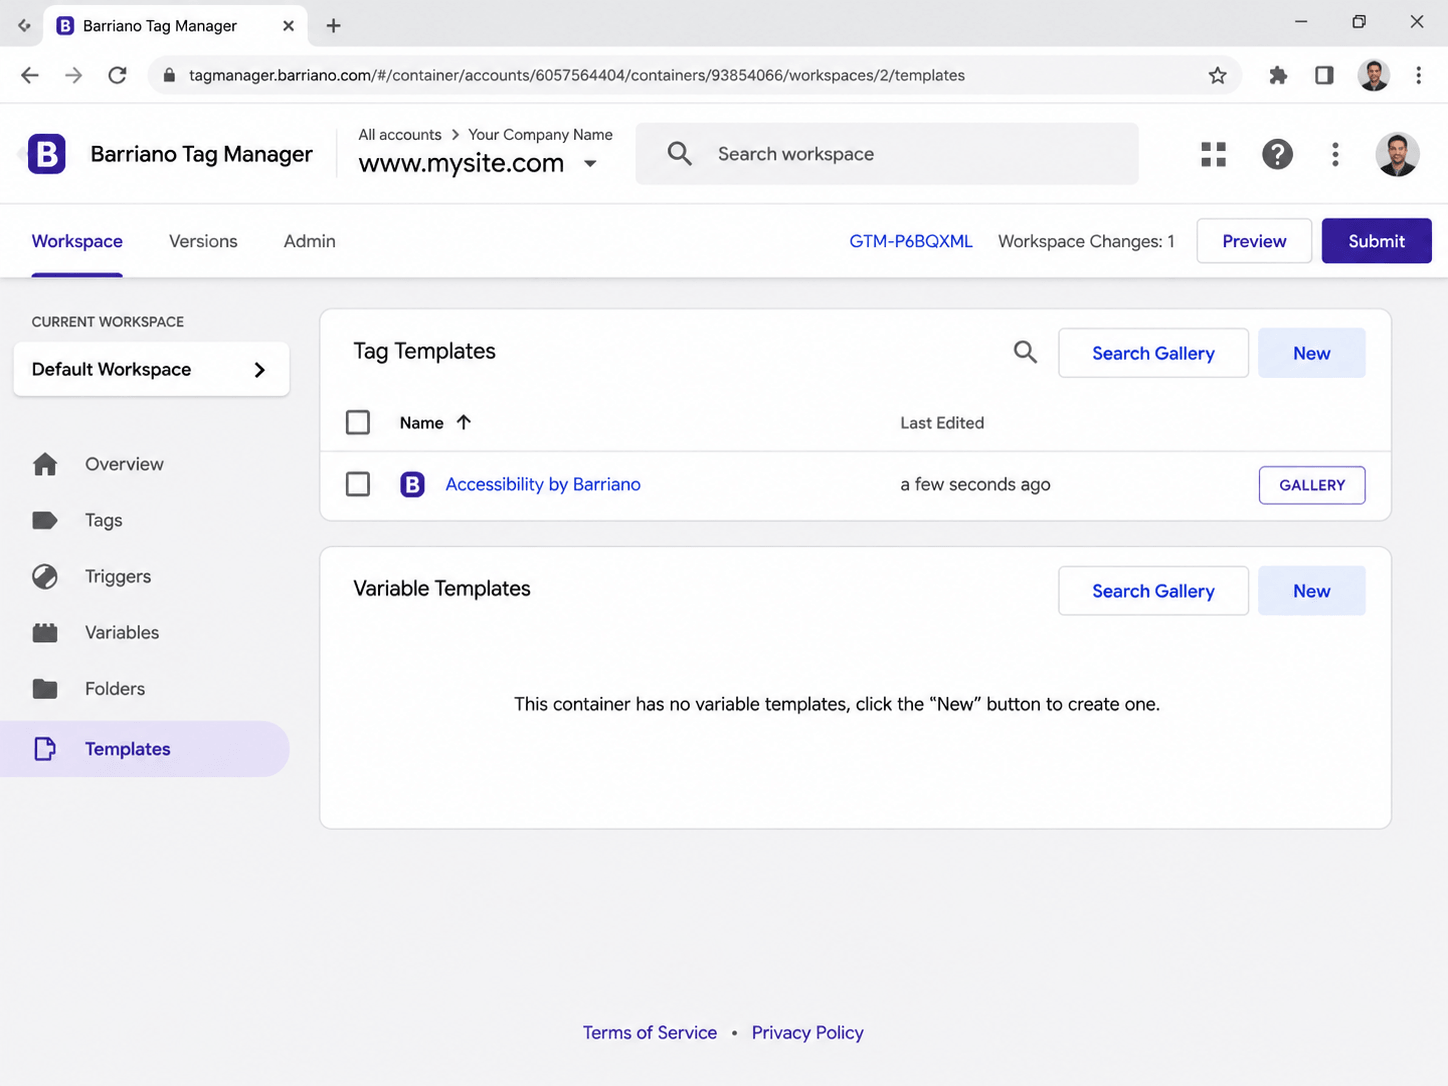
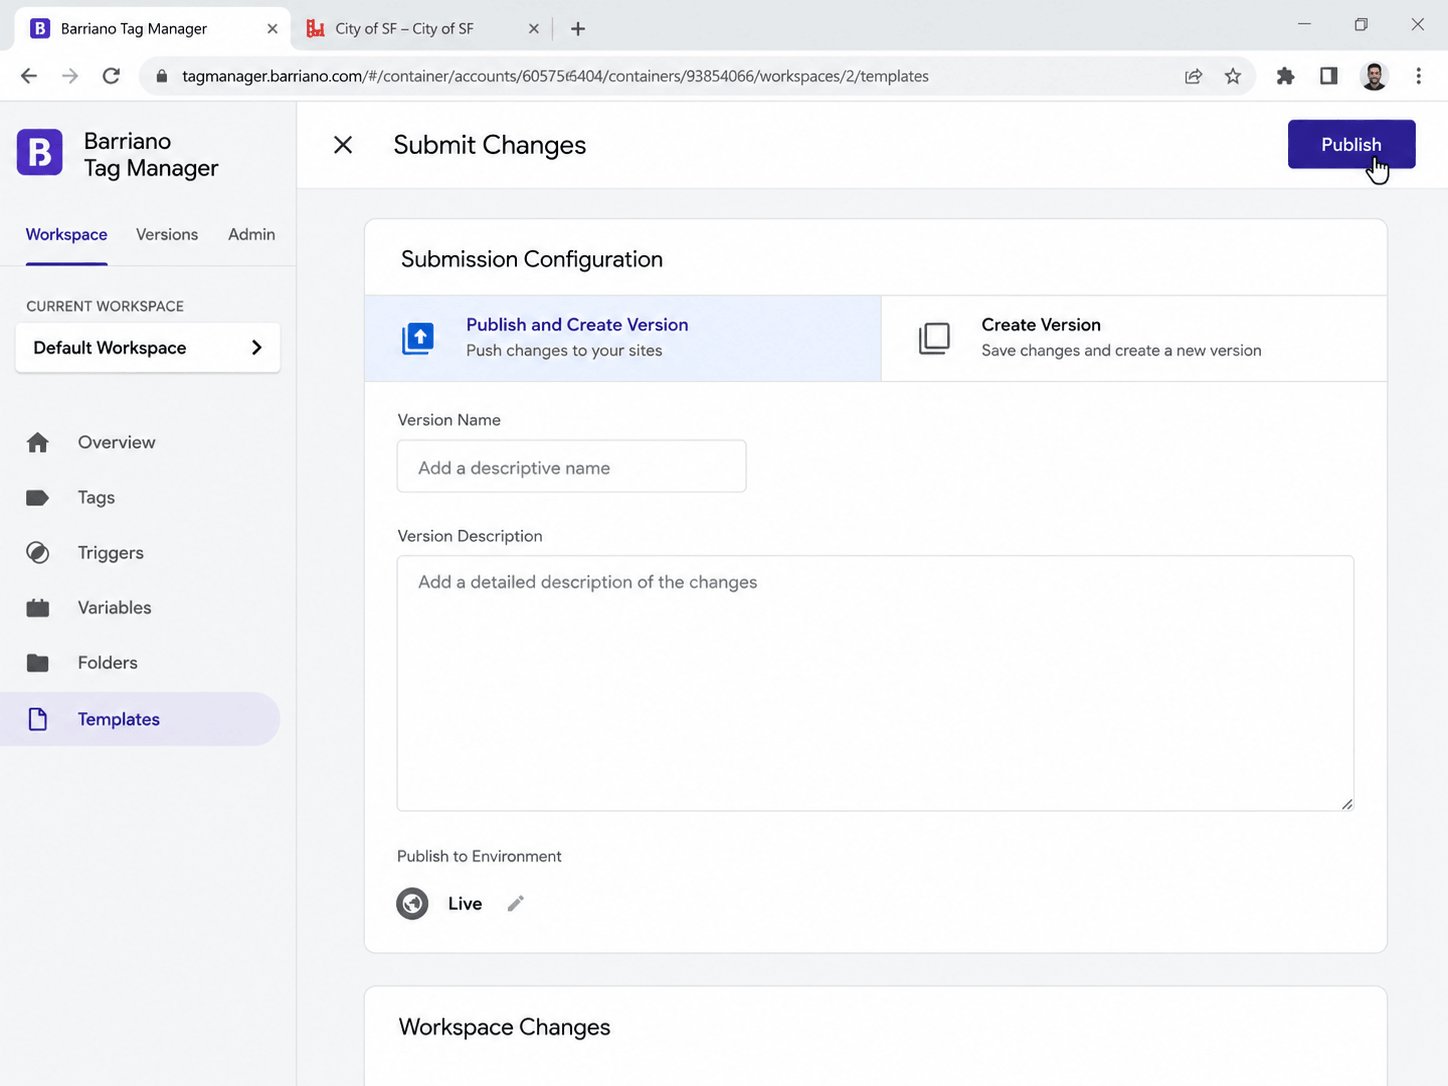
Return to your Google Tag Manager Workspace and click Submit.
Complete the publishing process to make the changes live.
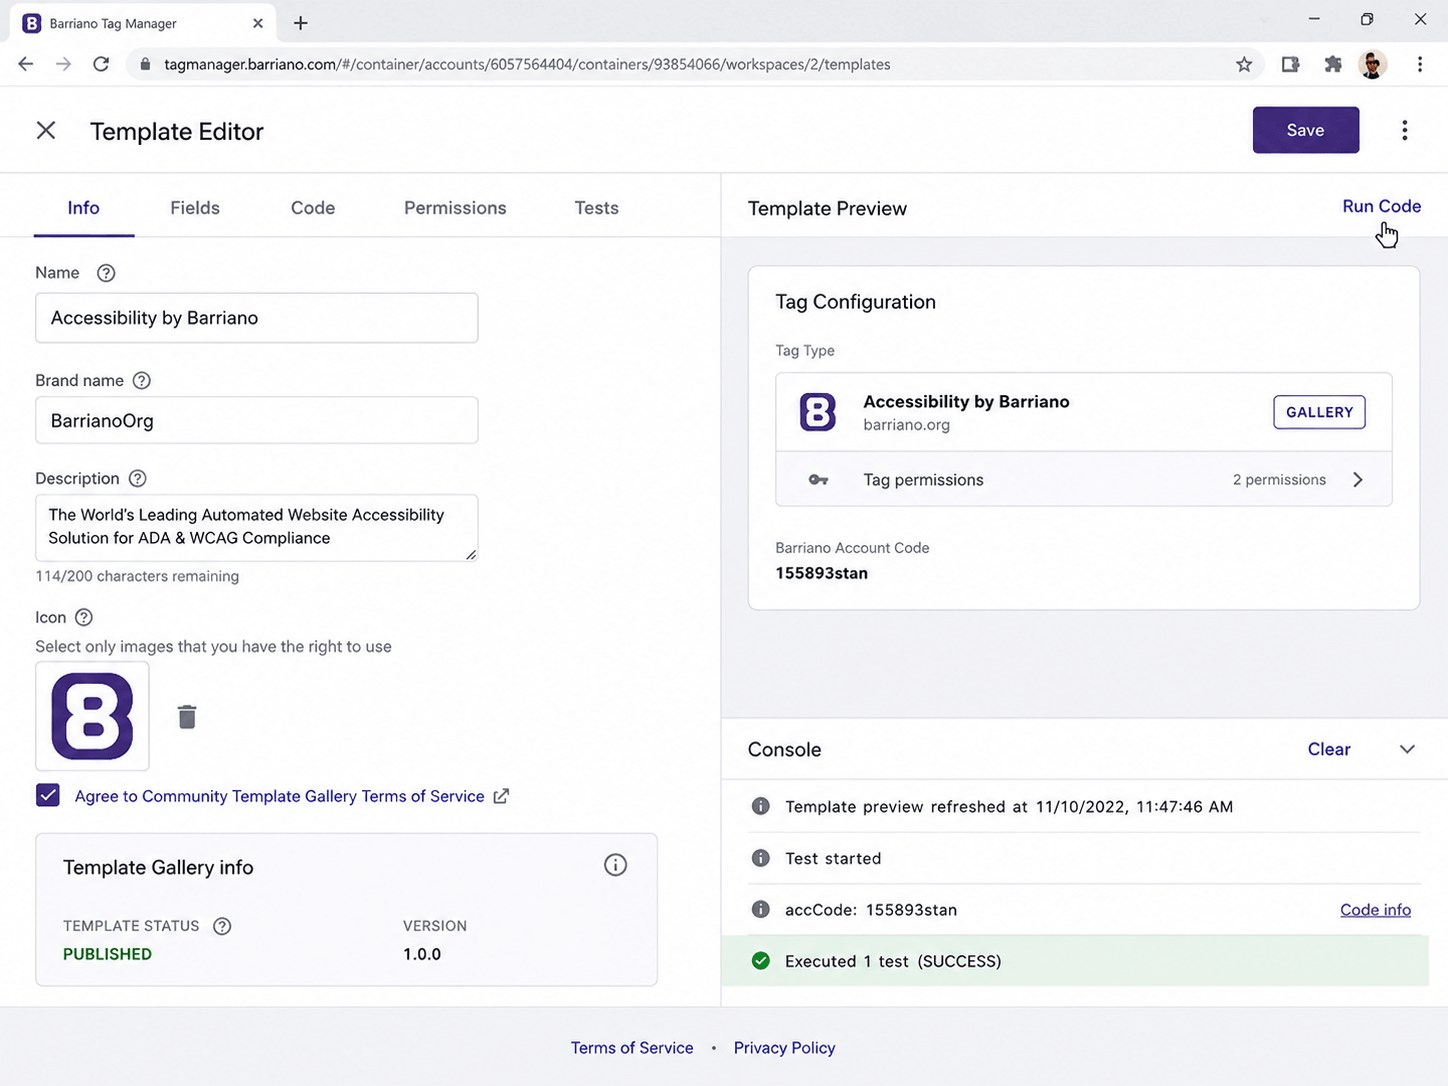
Step 4: Preview and Customize Your Barriano Accessibility Widget
Preview your website to ensure that the Barriano Accessibility Widget has been installed correctly and is working properly.
You can customize your accessibility widget by signing in to your Barriano dashboard and selecting the relevant website.