
If you would like to improve the accessibility of your Tilda website, the Barriano Accessibility Widget can help provide additional accessibility options for your visitors. This guide explains how to manually install the Barriano widget on your Tilda website.
Step 1: Register Your Tilda Website with Barriano
First, register your Tilda website with Barriano and complete the website registration process.
After registration, Barriano will generate a unique installation script for your website. Copy the script to your clipboard or save it as a text file.
If your Tilda website is already registered, sign in to your Barriano dashboard, select the relevant website, and copy its existing installation script.
If you have trouble signing in, use the password recovery option on the Barriano login page.
Step 2: Select or Create a Footer Page
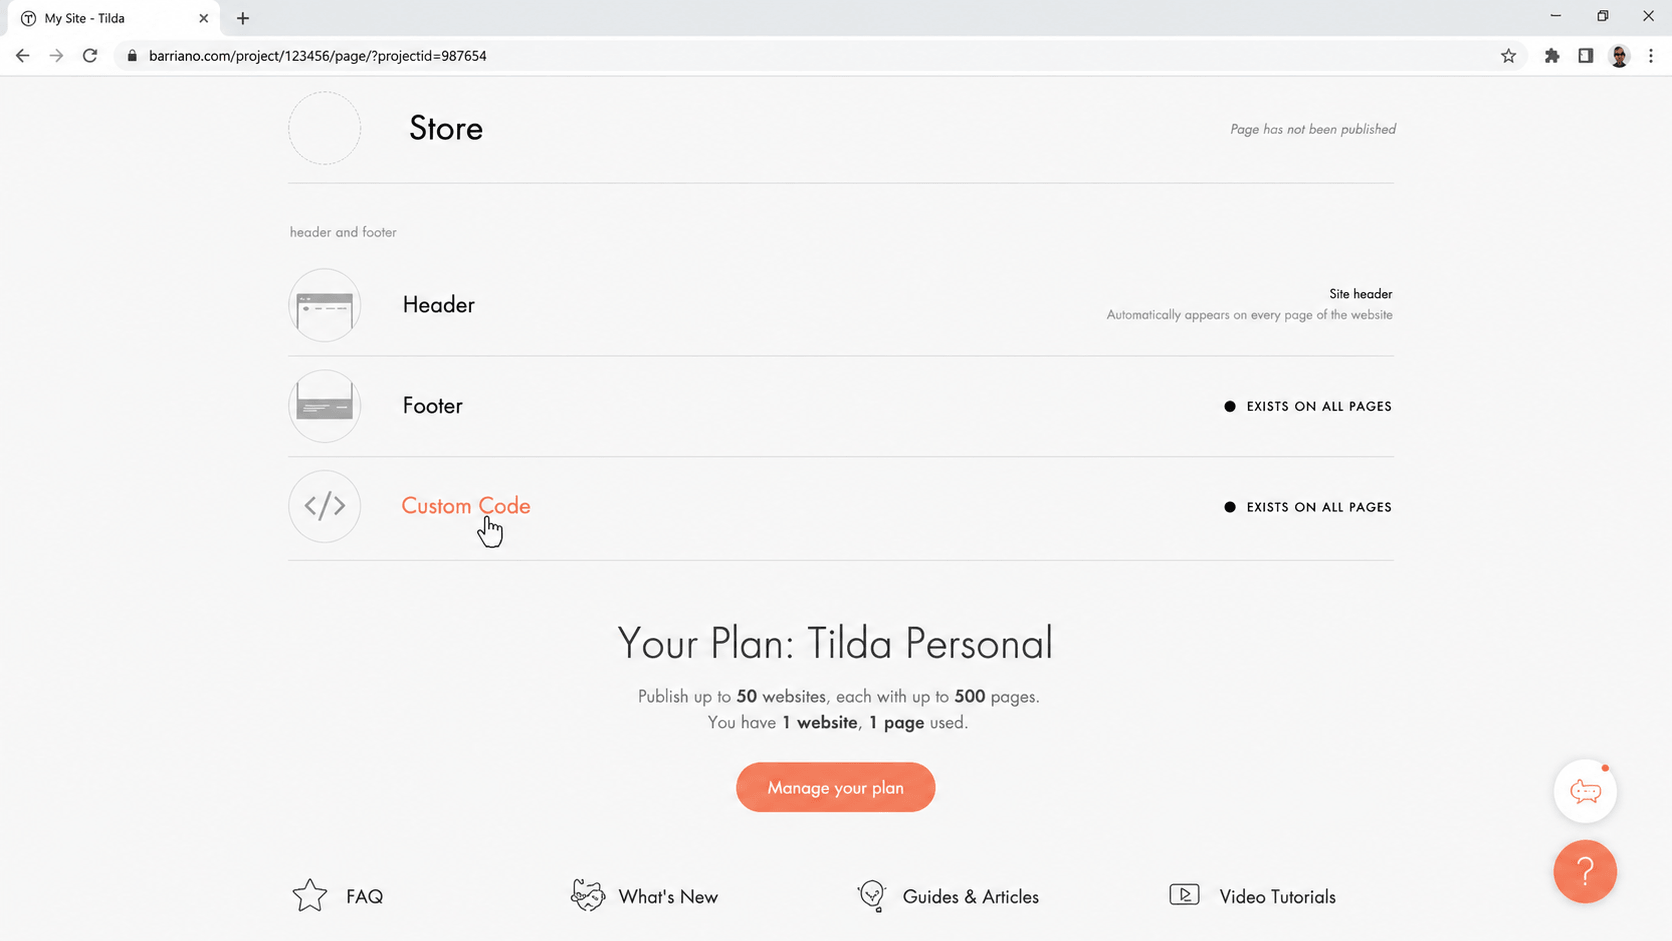
In your Tilda website dashboard, select the website where you want to install the Barriano Accessibility Widget.
Scroll through the available pages and select Footer.
If a Footer page has not yet been created, create one and configure it as the website footer in your Tilda site settings.
The Barriano installation script should be added to the Footer page so that the widget can load across the website.
Step 3: Embed the Barriano Code on Your Tilda Website
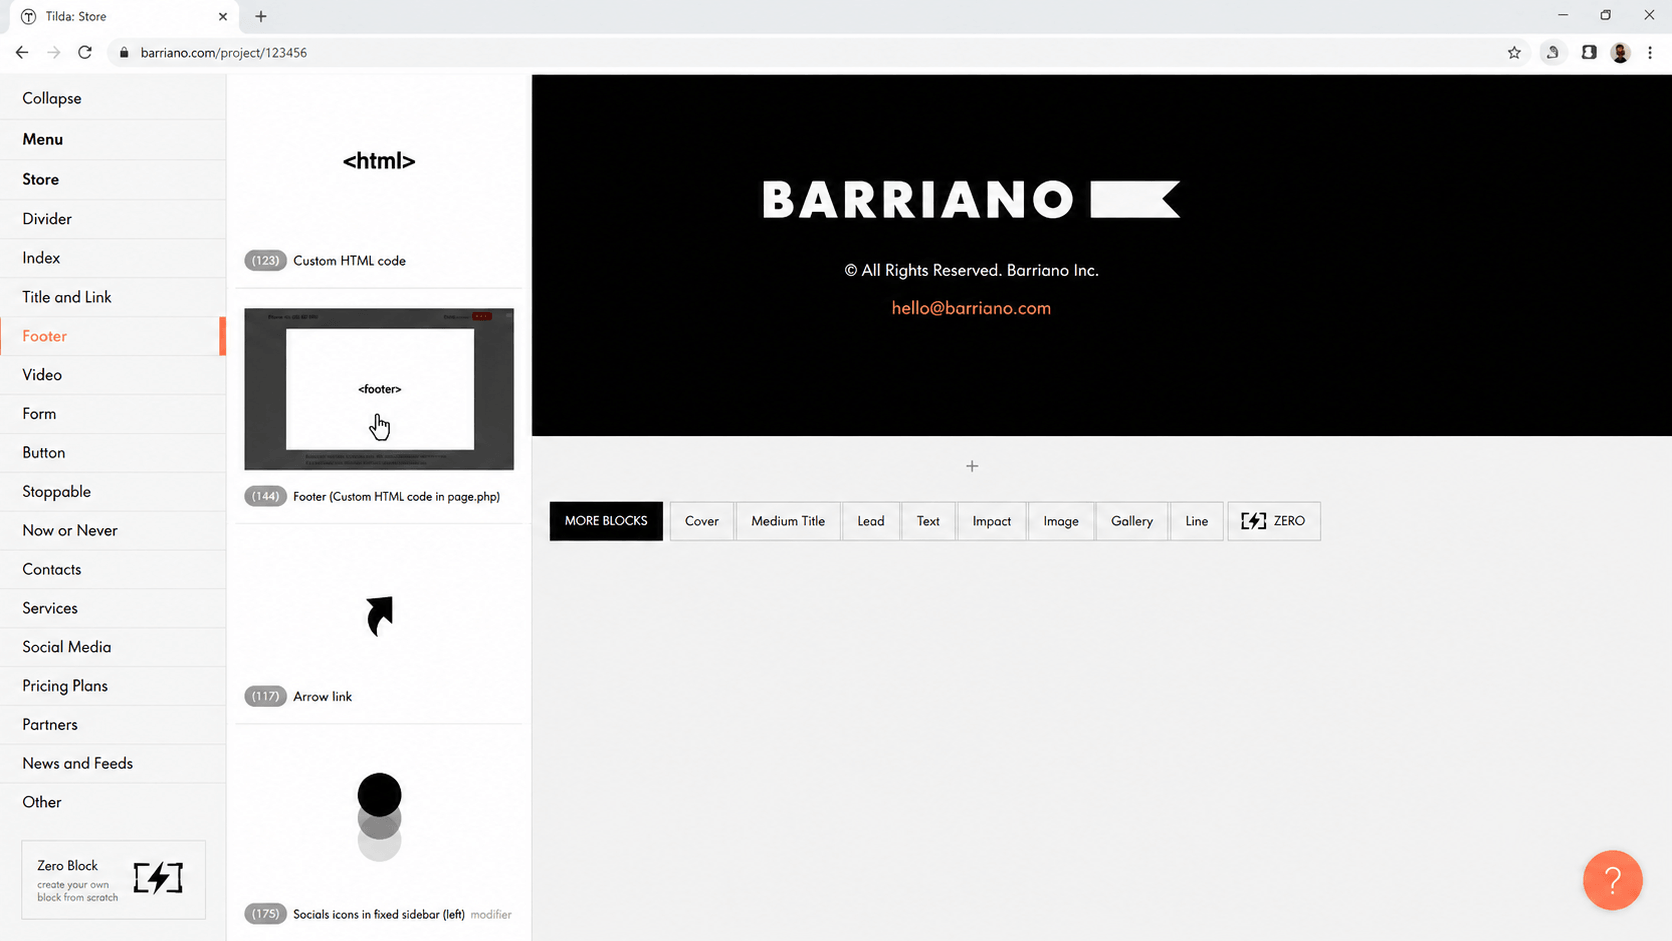
Open your Footer page.
Select More Blocks in the center of the page.
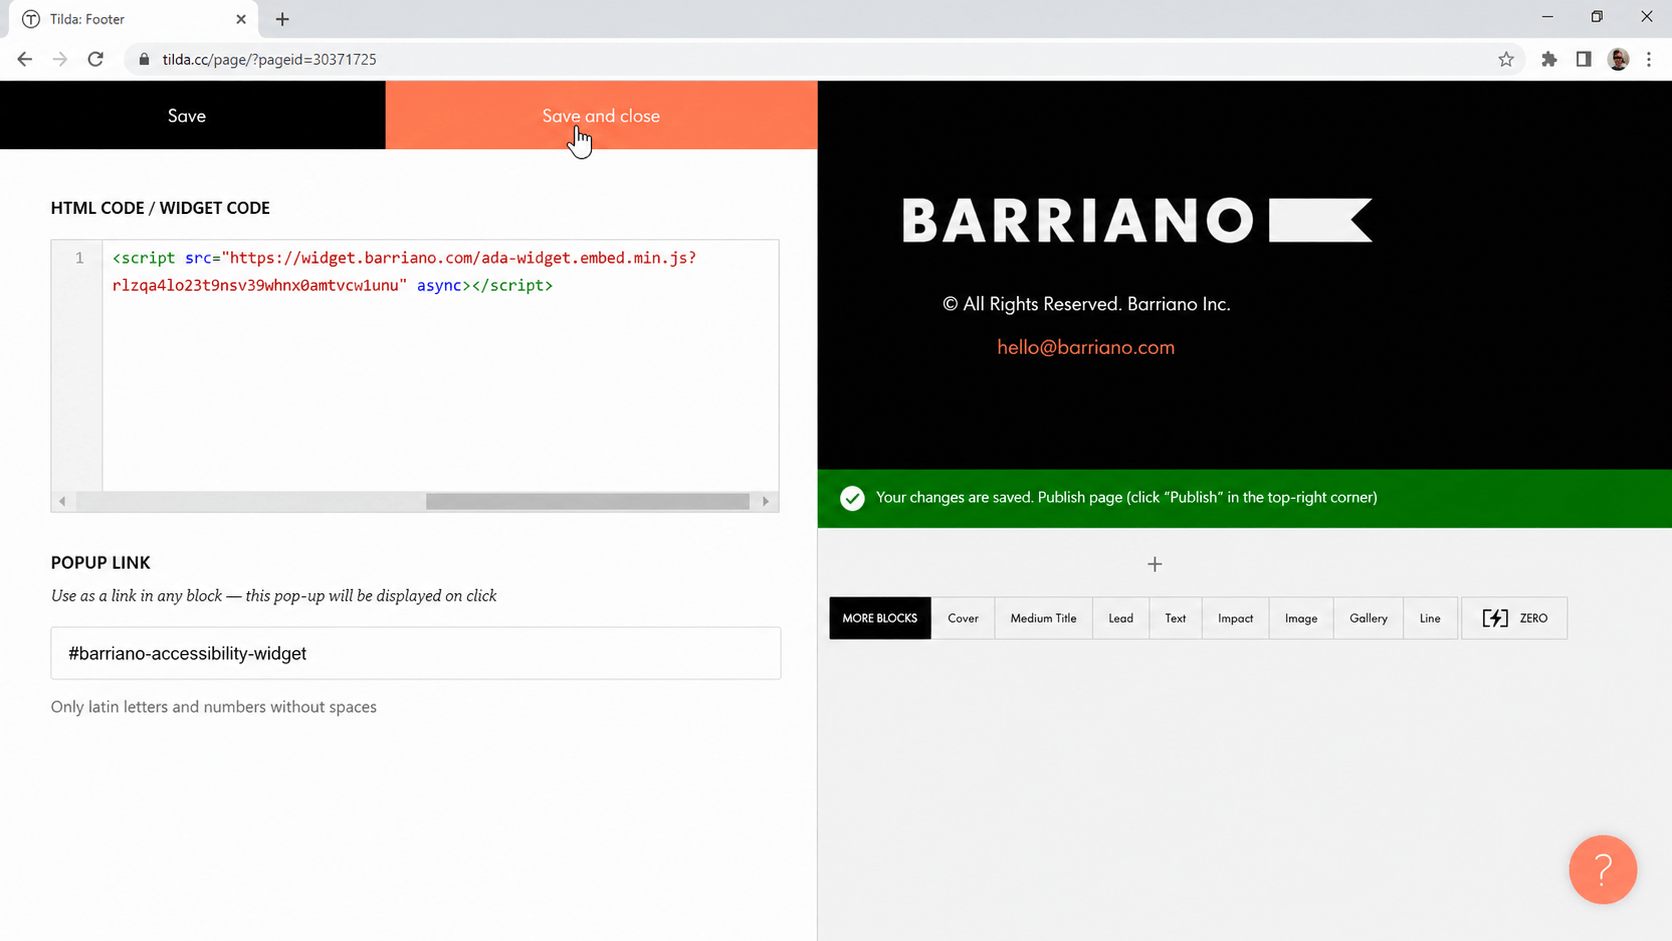
A menu will appear on the left side. Scroll down until you find Other, and then select the Embed HTML Code block.
Step 4: Publish, Preview, and Customize Your Widget
Publish your Tilda website to apply the changes.
Open the published website and confirm that the Barriano Accessibility Widget has been installed correctly.
Check that the widget is visible, opens correctly, and works on the required pages.
To customize the widget, sign in to your Barriano dashboard, select your Tilda website, and open the widget settings.
Save your changes after completing the customization.